Well summers here ... well sort of.
I've kept poultry for many years and something that seems to trouble a lot of people is Red Mite.
I have developed/stumbled upon or whatever you want to call it a way that kept my hens pretty free of Red Mite.
So I thought I'd share it and hopefully help a few others to control them.
Things I used to do with my wooden coops:
Years back you could paint them with creosote which seemed to kill everything pretty completely but now the use or indeed the purchase of it it restricted.
I found a good alternative was to either waft a blow torch ( electric hot air gun or a plumbers gas thing ) over all the nooks & crannies, alternatively or afterwards ( please not before ! ) was to paint the whole inside with paraffin using a paint brush be liberal ! You see why I said not before the blowtorch !
Next I used to give my hens and their surroundings a good dust with a farmyard/horse powder called "Gold Label Get rid powder" comes in a red tin you can find it on ebay or just google.
Where the perches sat on their brackets I would sprinkle some permethrin based crawling insect powder, such as the stuff you buy from Wilko's. Being careful though not to get it near my hens or their food.
There you go my way of keeping the red mite pest at bay, I found by following those simple steps my hens used to stay relatively red mite free, and when they did rear their ugly head the use of the above methods used to rid them effectively within a few days, with most of the blighters dying the same day.
Hope it helps
Tuesday, 12 June 2012

Wednesday, 4 January 2012
Digging finished
Well I finished the majority of the digging on the plot before Christmas, plus I ordered a raspberry collection from J.Parkers these are the one's I bought, came very promptly within 10 days I was very surprised how fast they came, plus I got some free bulbs

I found a few more plants amongst the weeds at the top of the plot, so I moved them down to be with others. The found ones are those with the leaves still on. Hopefully they will survive the move.

I was given a 3/4 full roll of Mypex so I've used it for the paths along the long run of the plot, and around the raspberrys. Hoping it'll stop or slow down the weeds coming through from my neighbour, now just to stop the dreaded twitch( couch grass ) from coming under the slab path from my other neighbour a weed war on 2 fronts !, I buried some old laminate floor boards along the path edge that might slow them down we'll see. In the spring a good dose of Sodium Chlorate I have stored in the shed at home may help too.


I found a few more plants amongst the weeds at the top of the plot, so I moved them down to be with others. The found ones are those with the leaves still on. Hopefully they will survive the move.

I was given a 3/4 full roll of Mypex so I've used it for the paths along the long run of the plot, and around the raspberrys. Hoping it'll stop or slow down the weeds coming through from my neighbour, now just to stop the dreaded twitch( couch grass ) from coming under the slab path from my other neighbour a weed war on 2 fronts !, I buried some old laminate floor boards along the path edge that might slow them down we'll see. In the spring a good dose of Sodium Chlorate I have stored in the shed at home may help too.

Saturday, 12 November 2011
Courgettes & squarefoot gardening in our back garden

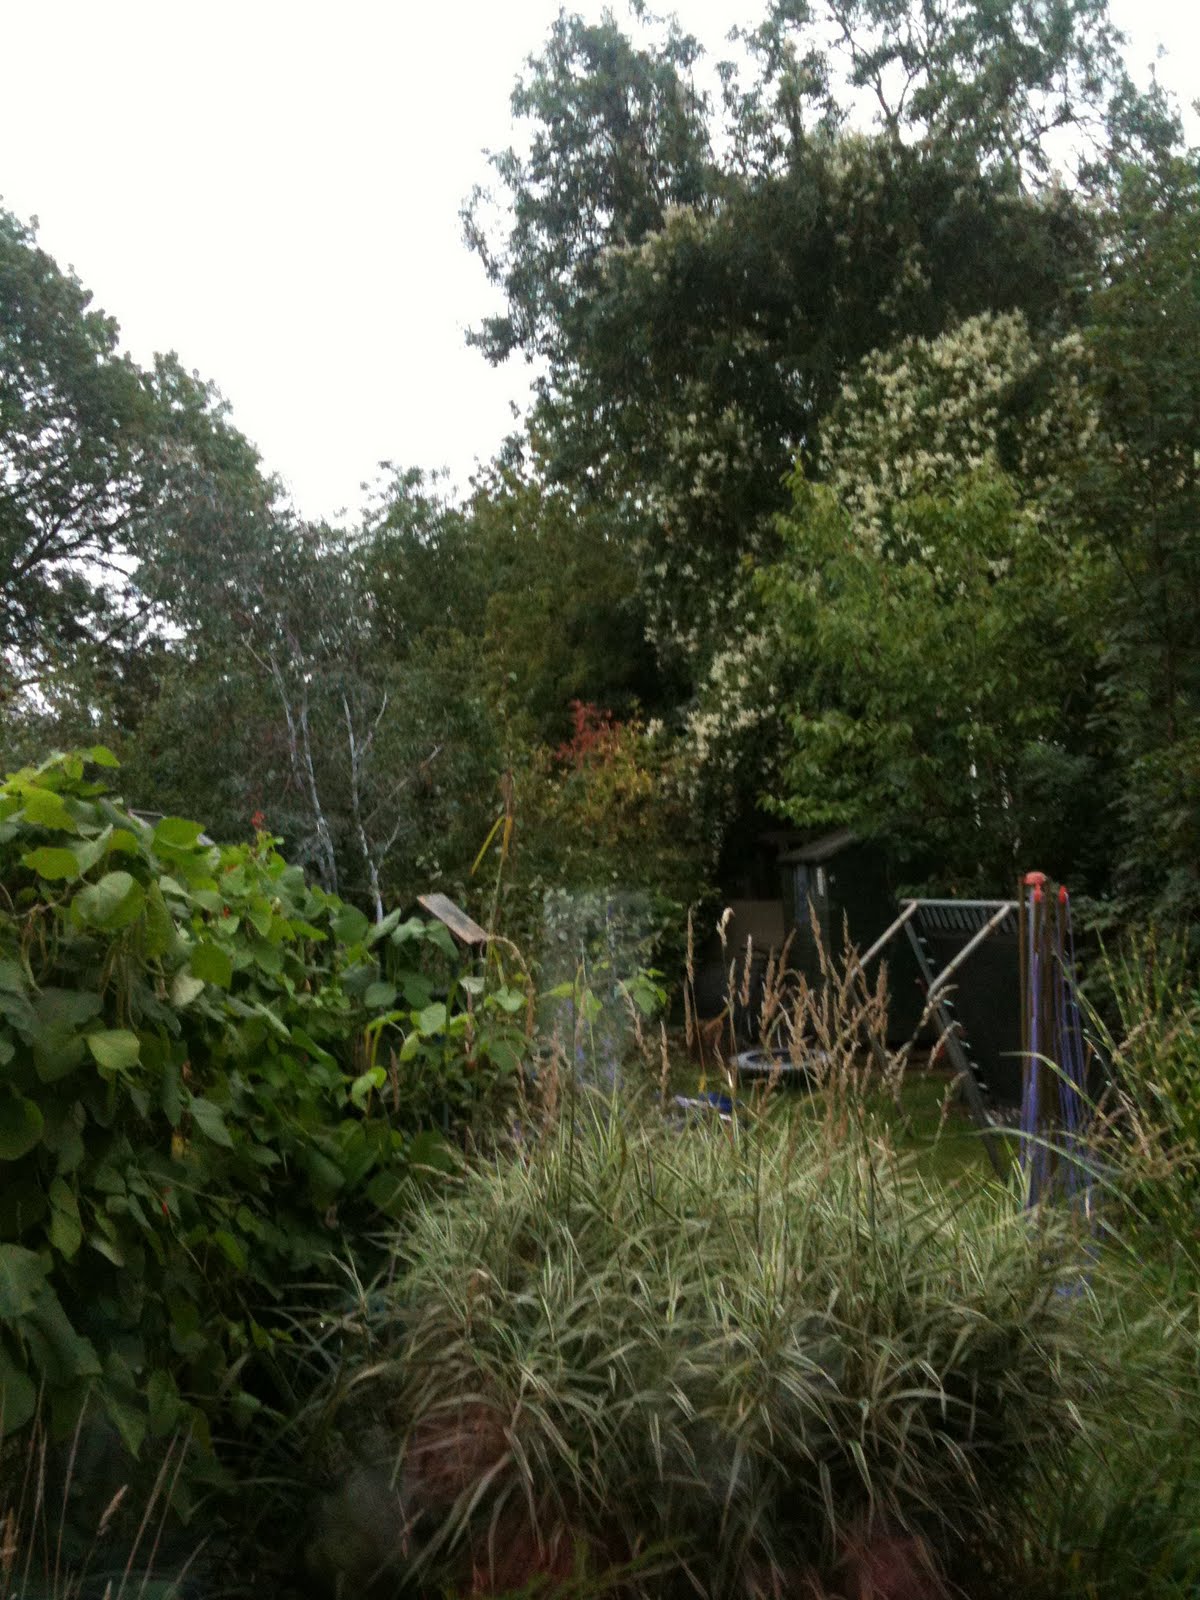
Just thought I'd post a couple of photo's of my back garden. I took these I think about 2 yrs back. We were trying some square foot gardening in the first one.
Strawberries in tubs on the wall, tubs from the poundshop and the strawberries where grown from seed. In the main bed at the front there's courgette's and lettuce. I also tried growing sweetcorn amongst the courgettes but they soon got swamped and lost.
On the right there's beetroot, spring onions and carrots. Also those two beds on the right you can see young been plants growing, the swiftly grew to become the "hedge" you can see on the left of the second picture.
The beds themselves are made out of reclaimed decking boards, 2 years on they are still in great shape, just need a coat of fence paint.
The greenhouse is sporting it's summer overcoat of debris netting which makes great sun shading.
Friday, 11 November 2011
Paper Pot Making
Here's a quick and simple way to make your own paper pots, I've made them this way for years now.
These are great for things like runner beans, sweetcorn etc the list goes on
Just plant the pot and it's contents straight into the ground, no need to disturb the root structure the pot degrades into the soil over the season.
These are great for things like runner beans, sweetcorn etc the list goes on
Just plant the pot and it's contents straight into the ground, no need to disturb the root structure the pot degrades into the soil over the season.
Tuesday, 8 November 2011
A long break and all that !
Well I lost the plot(s) literally ! , not really lost them but gave them up.
We were due to have a new allotment site in our village, and what with helping the new site prepare and being on the new committee. I decided to give my old plots up and start a fresh on the new village site.
Sadly they fell through and I was without an allotment.
For a year or two we have grown at home along the lines of square foot gardening, nice and compact, we had some good salad years but not much room for the "big boys" of the veg garden.
Plot 62
Where I work from the tea room you can see the local allotment plots, this year I finally succumbed to temptation. Put my name down on the waiting list and 1 week later I was offered a plot !
Can't believe my luck ! the plots great, the soils lovely like something off a tv show ... almost apart from the usual selection of weeds, fortunately for me mostly annual grass and fat hen. plus a good crop of stones, half bricks and building blocks, and a chair !
The only down side I've found so far is there's quite a hard pan about a spit deep, but I've been double digging some of the beds to help start breaking this up.
I decided from more or less day one that I would implement a bed system, 4 foot wide and 13 foot long 18" paths all round should suffice. I eventually will have 26 beds. Also saves me the trouble of digging where I'm going to be walking.
So far I've found a few rhubarb plants, and a few raspberry plants.
2nd day in I remembered to take some pictures


3 weeks further along and we're getting there, Garlic and over wintering onions are in, I've dug out 1 row of bean trenches.

And now the rain has started.
We were due to have a new allotment site in our village, and what with helping the new site prepare and being on the new committee. I decided to give my old plots up and start a fresh on the new village site.
Sadly they fell through and I was without an allotment.
For a year or two we have grown at home along the lines of square foot gardening, nice and compact, we had some good salad years but not much room for the "big boys" of the veg garden.
Plot 62
Where I work from the tea room you can see the local allotment plots, this year I finally succumbed to temptation. Put my name down on the waiting list and 1 week later I was offered a plot !
Can't believe my luck ! the plots great, the soils lovely like something off a tv show ... almost apart from the usual selection of weeds, fortunately for me mostly annual grass and fat hen. plus a good crop of stones, half bricks and building blocks, and a chair !
The only down side I've found so far is there's quite a hard pan about a spit deep, but I've been double digging some of the beds to help start breaking this up.
I decided from more or less day one that I would implement a bed system, 4 foot wide and 13 foot long 18" paths all round should suffice. I eventually will have 26 beds. Also saves me the trouble of digging where I'm going to be walking.
So far I've found a few rhubarb plants, and a few raspberry plants.
2nd day in I remembered to take some pictures


3 weeks further along and we're getting there, Garlic and over wintering onions are in, I've dug out 1 row of bean trenches.

And now the rain has started.
Wednesday, 6 May 2009
Quick peep inside the greenhouse
Just like it says
 Most of the plants you see down the middle are destined for the allotment plot.
Must sow some runner beans in the next day or two !
 Most of the plants you see down the middle are destined for the allotment plot.
Must sow some runner beans in the next day or two !
Friday, 1 May 2009
The Big Clean !!
Today was the day to do the big clean of the hen house. I clean them out properly once a year I feel the way I keep them there is no real need to do more regularly than this.
Have you ever read about deep litter houses ?? that's how I keep mine I create a deep litter of straw and wood shavings about 9inch deep and leave it. Over the year they scratch it down in to dust spending many happy hours digging scratching and creating dust baths, they just love to dust bathe so much so that everything in the shed ends up covered in a fine layer of dust.
The essential items for the clean are spade, scraper sweeping brush, hand brush, pressure sprayer, Jeyes fluid and a paint stripping gun.
I start by removing all the old litter, bagging this up to go down to the allotment some will be composted but some I have an idea for this year. After everything is scraped and swept I put the paint stripping heat gun over every joint and nook 'n crannie to kill any bugs. Finally I give the whole thing roof floors sides etc a good spray with Jeyes fluid. Leave it to dry then put down a thick layer of straw, no wood shavings at the minute but I'll add some later on.
A few shots of the inside


Showing the perch and supports for the droppings board
 Front of the nest box, I've put curtains up for a number of reasons hens prefer somewhere dull and secure, also it seems to lessen the chance of egg eating and vent pecking occurring

Finally showing the droppings board replaced and the ladder in position

Have you ever read about deep litter houses ?? that's how I keep mine I create a deep litter of straw and wood shavings about 9inch deep and leave it. Over the year they scratch it down in to dust spending many happy hours digging scratching and creating dust baths, they just love to dust bathe so much so that everything in the shed ends up covered in a fine layer of dust.
The essential items for the clean are spade, scraper sweeping brush, hand brush, pressure sprayer, Jeyes fluid and a paint stripping gun.
I start by removing all the old litter, bagging this up to go down to the allotment some will be composted but some I have an idea for this year. After everything is scraped and swept I put the paint stripping heat gun over every joint and nook 'n crannie to kill any bugs. Finally I give the whole thing roof floors sides etc a good spray with Jeyes fluid. Leave it to dry then put down a thick layer of straw, no wood shavings at the minute but I'll add some later on.
A few shots of the inside


Showing the perch and supports for the droppings board
 Front of the nest box, I've put curtains up for a number of reasons hens prefer somewhere dull and secure, also it seems to lessen the chance of egg eating and vent pecking occurring
Finally showing the droppings board replaced and the ladder in position

Monday, 27 April 2009
Hurray Rain !
Well that sounds daft but I'm glad for a bit of rain, the peas are just poking their heads through and will really appreciate the drink as will everything else that's growing.
Last year I completely forgot to harvest my Jerusalem artichoke patch and now it has invaded a bit more of the plot.

We managed to get some brassicas seedlings in the other day & unlike previous years I've remembered to cover them straight up . The wood pigeons seem to take perverse delight in dining on them 5 minutes after you've locked the gate and realised you forgot to cover them.
Last year I managed to get hold of some debris netting that proved great, no caterpillars or birds.
Last year I completely forgot to harvest my Jerusalem artichoke patch and now it has invaded a bit more of the plot.

We managed to get some brassicas seedlings in the other day & unlike previous years I've remembered to cover them straight up . The wood pigeons seem to take perverse delight in dining on them 5 minutes after you've locked the gate and realised you forgot to cover them.
Last year I managed to get hold of some debris netting that proved great, no caterpillars or birds.

Tuesday, 14 April 2009
Peas and Runner beans
I love peas, just wish I could grow them better than the last year or so.
So today we planted 3 rows of peas, and half a row of beetroot to finish the row off.
Mange tout, Sugar snap and good old kelvedon wonder, we covered them with netting so hopefully the woodies will keep off.
Constructed this years runner bean frame today with some help from a few of the children.
Made from roofing lathes salvaged in good old allotment style, double thickness across the top to support the weight of all those beans .. hopefully.
I don't use canes seems a waste of money to me, good old string is the answer, beans happily climb string just as well as up canes.

So today we planted 3 rows of peas, and half a row of beetroot to finish the row off.
Mange tout, Sugar snap and good old kelvedon wonder, we covered them with netting so hopefully the woodies will keep off.
Constructed this years runner bean frame today with some help from a few of the children.
Made from roofing lathes salvaged in good old allotment style, double thickness across the top to support the weight of all those beans .. hopefully.
I don't use canes seems a waste of money to me, good old string is the answer, beans happily climb string just as well as up canes.

Sunday, 12 April 2009
Squash House
I managed to get some planks off freecycle the other day. So an afternoons work turned this.

Into this

I'm intent on growing butternut squash and getting a crop this year. Hopefully I'll be able to create a warmer microclimate in here to encourage fruiting. I wish I could say it was my idea but I came across an article on how to grow butternut squashes and thought I'd use the idea.
All I need to do now is to create a roof preferably one that self waters when it rains.

Into this

I'm intent on growing butternut squash and getting a crop this year. Hopefully I'll be able to create a warmer microclimate in here to encourage fruiting. I wish I could say it was my idea but I came across an article on how to grow butternut squashes and thought I'd use the idea.
All I need to do now is to create a roof preferably one that self waters when it rains.
New blog!
This blog things catching ! I've decided to do one on our wildlife pond back garden project.
It will probably contain various ramblings about our back garden, the environment etc.
You can find it here
Rich's wildlife spot
It will probably contain various ramblings about our back garden, the environment etc.
You can find it here
Rich's wildlife spot
Sunday, 5 April 2009
Inside the greenhouse and others things
Nipped down the lottie yesterday and planted my second early potato's. I've planted them at right angles to the 1st earlies as I've had a flash of inspiration ! they will now run down the slope of the plot rather than across, I'm thinking it will make them easier to water, we'll see.
Here's a few picks of my greenhouse and outside.
Tomato's and chilli's
Cucumbers, Squashes and Melons

Brassica seedlings
Various sorts Cauliflower, Cabbage, Red Cabbage, Purple Sprouting Broc.
Today I'm hoping to get in some parsnips in paper pots, then I'll transplant them pots and all when they have germinated.
Here's a few picks of my greenhouse and outside.
Tomato's and chilli's

Cucumbers, Squashes and Melons

Brassica seedlings
Various sorts Cauliflower, Cabbage, Red Cabbage, Purple Sprouting Broc.

Today I'm hoping to get in some parsnips in paper pots, then I'll transplant them pots and all when they have germinated.
Wednesday, 1 April 2009
There's something very satisfying about ..

Fruit tree planting. My youngest son and I planted a couple of apple trees today. Thoroughly enjoyed doing it, a very satisfying experience. We dug in plenty of well rotted compost to improve the soil.
Nice to think with any luck they will out live me and be there for many years to come. I wonder if the next people will think about the person who planted them ? I know I quite often look at old trees and things and wonder who planted them and what their life was like.

I'm pretty happy with the way the plots looking this year it's two plots side by side. The garlic and Japanese onions in the foreground are coming along nicely next few days they will get a careful hoe and some Blood, Fish and Bone applied.In the bottom far left hand corner I've planted 3 rows of rocket 1st early potato and gave them a generous covering of compost and part rotted leaves.
The raspberries I planted are stirring into life slowly and I've descovered a couple of rhubarb plants alive under the carpet and bark chipping mulch that covers the Blackberry and Tayberry patch and I thought they where dead!
There's a couple of cloches up, they have nothing in them at the minute but I'll be planting parsnips and possibly a catch crop of beetroot there too shortly.
Nice to think with any luck they will out live me and be there for many years to come. I wonder if the next people will think about the person who planted them ? I know I quite often look at old trees and things and wonder who planted them and what their life was like.

I'm pretty happy with the way the plots looking this year it's two plots side by side. The garlic and Japanese onions in the foreground are coming along nicely next few days they will get a careful hoe and some Blood, Fish and Bone applied.In the bottom far left hand corner I've planted 3 rows of rocket 1st early potato and gave them a generous covering of compost and part rotted leaves.
The raspberries I planted are stirring into life slowly and I've descovered a couple of rhubarb plants alive under the carpet and bark chipping mulch that covers the Blackberry and Tayberry patch and I thought they where dead!
There's a couple of cloches up, they have nothing in them at the minute but I'll be planting parsnips and possibly a catch crop of beetroot there too shortly.
Thursday, 12 February 2009
Online Petition against unfair water charges
There's a on-line petition going against the unfair water charges that are being implemented, these charges have the potential to affect everyone who has an allotment, local sports grounds, places of worship, basically I think anywhere that there is recreational land in the UK.
Please have a look at the link and if you agree with what I've put then sign if you can, this is running in conjunction with the water charges topic running on www.allotment.org.uk
Link to petition
Thanks
Please have a look at the link and if you agree with what I've put then sign if you can, this is running in conjunction with the water charges topic running on www.allotment.org.uk
Link to petition
Thanks
Saturday, 24 January 2009
Homemade Poultry Feeder

If your strapped for cash or simply don't want to spend a great deal on your poultry feeder here's how I made mine:
This one holds enough pellets for 4 birds for about 3 days feed.
1 old bucket (mine was a poultry manure bucket)
1 12" flower pot
1 off-cut of 2x2 timber cut into a pyramid.
Strong garden wire
Rope
1 2" Screw

Take the flower pot and make four holes along the bottom edge about 1 1/2 " x 1"
Drill four small holes in the top rim of the pot.
Drill a small hole in the middle of the bottom of the pot
Next cut the old bucket down to leave a it about 2" deep lip up from the bottom.
Drill a hole in the middle of the bucket bottom.
Drill a pilot hole into the bottom of your pyramid
Now the fiddly bit
Place the flower pot into the middle of the bucket and put the pyramid into the middle of the flower pot.
Now screw the screw up through the bucket, flower pot and into the pyramid. Nice and tight to sandwich it all together.
There your about done. Make a cross of wire through the holes you made in the flower pot rim.
Tie the rope to the middle of the cross hang at the right height.
And thats it .
Easy to give it a quick clean with a damp cloth.
The one in the photo was made about 4 yrs ago.
The hens will soon learn to give it a bash to make the last few pellets flow.If you find the pellets flow to quick an insert of cardboard can be placed inside the flower pot with smaller holes.
This one holds enough pellets for 4 birds for about 3 days feed.
1 old bucket (mine was a poultry manure bucket)
1 12" flower pot
1 off-cut of 2x2 timber cut into a pyramid.
Strong garden wire
Rope
1 2" Screw

Take the flower pot and make four holes along the bottom edge about 1 1/2 " x 1"
Drill four small holes in the top rim of the pot.
Drill a small hole in the middle of the bottom of the pot
Next cut the old bucket down to leave a it about 2" deep lip up from the bottom.
Drill a hole in the middle of the bucket bottom.
Drill a pilot hole into the bottom of your pyramid
Now the fiddly bit
Place the flower pot into the middle of the bucket and put the pyramid into the middle of the flower pot.
Now screw the screw up through the bucket, flower pot and into the pyramid. Nice and tight to sandwich it all together.
There your about done. Make a cross of wire through the holes you made in the flower pot rim.
Tie the rope to the middle of the cross hang at the right height.
And thats it .
Easy to give it a quick clean with a damp cloth.
The one in the photo was made about 4 yrs ago.
The hens will soon learn to give it a bash to make the last few pellets flow.If you find the pellets flow to quick an insert of cardboard can be placed inside the flower pot with smaller holes.
Thursday, 22 January 2009
Chitting and Things

Well things are starting to move at last, well time is anyway.
The days are getting longer and spring is on it's inevitable way. Hooray !
The hens have started to grace us with eggs again 4 hens and 4 eggs today, so the talking to must have worked.
Made my first sowing of the year a day or two back, 3 small rows of nantes early carrots and a row of mixed salad leaves.All in the bed of the unheated greenhouse.
I've bought in my seed potato's and have started to chit them probably a little early, but stocks sell fast at our allotment shop. So I thought I'd get in quick and have bought the following:
3kg of Rocket 1st earlies.
3kg of Nadine 2nd earlies
9kg of Romano main crop
9kg of Cara main crop
So I've probably got about 240 ish tubers to plant come the spring.
Chitting is optional some say you get better results, others say you don't.
Personally I chit
The best way to do this is keep them in a light, but cool place and they should produce short stocky chits in about 6 or so weeks.
I like to do mine in them blue plastic crates you can get from the green grocers, quite often you can get them for free if you ask nice.
I've also put in 3 rows of Raspberry canes over the winter, not much to see as they look like rows of sticks at the minute, I also got some raspberry roots off a friend of mine on the allotment forums, there in pots waiting for the spring.
Tips for January and February finish the winter digging if you can and tidy up
I may even take my own advice !
The days are getting longer and spring is on it's inevitable way. Hooray !
The hens have started to grace us with eggs again 4 hens and 4 eggs today, so the talking to must have worked.
Made my first sowing of the year a day or two back, 3 small rows of nantes early carrots and a row of mixed salad leaves.All in the bed of the unheated greenhouse.
I've bought in my seed potato's and have started to chit them probably a little early, but stocks sell fast at our allotment shop. So I thought I'd get in quick and have bought the following:
3kg of Rocket 1st earlies.
3kg of Nadine 2nd earlies
9kg of Romano main crop
9kg of Cara main crop
So I've probably got about 240 ish tubers to plant come the spring.
Chitting is optional some say you get better results, others say you don't.
Personally I chit
The best way to do this is keep them in a light, but cool place and they should produce short stocky chits in about 6 or so weeks.
I like to do mine in them blue plastic crates you can get from the green grocers, quite often you can get them for free if you ask nice.
I've also put in 3 rows of Raspberry canes over the winter, not much to see as they look like rows of sticks at the minute, I also got some raspberry roots off a friend of mine on the allotment forums, there in pots waiting for the spring.
Tips for January and February finish the winter digging if you can and tidy up
I may even take my own advice !
Thursday, 4 December 2008
Tuesday, 2 December 2008
Converting a shed for poultry use. Part 1
Converting a shed for poultry use is a reasonably easy task suitable for even the most amateur diyer.
First you need a shed make sure it’s sound and watertight. Remember fresh air and cold won't hurt hens, a drought will.
The size of the shed will dictate the number of hens you can keep in there; I’ll assume that you are adding a run so a 6 x 8 shed will easily accommodate 8-12 birds with lots of room inside for rainy days etc.
The next thing to do is decide on a site. Away from full sun would be best in my opinion, you don’t want them to cook in the summer and as far away from your own home or neighbours as you can or is practical.
Let’s talk vermin, yes you probably will get them at some point but there are plenty of things you can do to minimise the problem. Good house keeping is essential all food stuffs should be kept in sealed containers any food spillages cleaned up.
Raising the shed up off the floor will also help a great deal, rodents feel less secure if the floors raised and so the underneath is more open.
I’ve raised mine on 6x2 joists and this is the minimum I would use, with hindsight I’d have raised mine by 12 inch probably using building blocks.
Now make sure the window is operable, but secure weld-mesh to the inside, so you can open the window and leave it open without Mr Fox or wild birds getting in. It may also pay to mesh over any fixed panes too.
Next you need to block off the bottom 12” of the doorway, do this from the inside using something like marine ply which is weather proof. This gives you a barrier against the hens throwing out their litter.
Then build an inner frame around the original door frame, than build an inner door out of timber for the frame and cover that with mesh. Hang this on you inner frame and use something like a pad-lockable bolt to lock it shut. You should now be able to leave the main door open throughout the day, while keeping your hens well ventilated, but secure.
If you wish to use just part of the shed it’s easy to create a partition frame of timber and cover with mesh.
In my next part I'll try to cover nest boxes, pop holes and perches.
First you need a shed make sure it’s sound and watertight. Remember fresh air and cold won't hurt hens, a drought will.
The size of the shed will dictate the number of hens you can keep in there; I’ll assume that you are adding a run so a 6 x 8 shed will easily accommodate 8-12 birds with lots of room inside for rainy days etc.
The next thing to do is decide on a site. Away from full sun would be best in my opinion, you don’t want them to cook in the summer and as far away from your own home or neighbours as you can or is practical.
Let’s talk vermin, yes you probably will get them at some point but there are plenty of things you can do to minimise the problem. Good house keeping is essential all food stuffs should be kept in sealed containers any food spillages cleaned up.
Raising the shed up off the floor will also help a great deal, rodents feel less secure if the floors raised and so the underneath is more open.
I’ve raised mine on 6x2 joists and this is the minimum I would use, with hindsight I’d have raised mine by 12 inch probably using building blocks.
Now make sure the window is operable, but secure weld-mesh to the inside, so you can open the window and leave it open without Mr Fox or wild birds getting in. It may also pay to mesh over any fixed panes too.
Next you need to block off the bottom 12” of the doorway, do this from the inside using something like marine ply which is weather proof. This gives you a barrier against the hens throwing out their litter.
Then build an inner frame around the original door frame, than build an inner door out of timber for the frame and cover that with mesh. Hang this on you inner frame and use something like a pad-lockable bolt to lock it shut. You should now be able to leave the main door open throughout the day, while keeping your hens well ventilated, but secure.
If you wish to use just part of the shed it’s easy to create a partition frame of timber and cover with mesh.
In my next part I'll try to cover nest boxes, pop holes and perches.
Sunday, 16 November 2008
Squelch
That's the noise that greeted me today as I set foot on my plot so that was it for me, to wet to do what I'd intended but no surprise after all the rain. My plots are on a slope, but some of the plots at the top still had standing water.
Thieves have struck on the site a number of sheds have been broken into and tools have been stolen. Also our sister site has been targeted too.
Thieves have struck on the site a number of sheds have been broken into and tools have been stolen. Also our sister site has been targeted too.
On the up side I discovered a huge pile of leaves has been left for me, so now do I dig them in or compost for next year. I'm not sure yet.
The broad beans seem to be enjoying the wet weather and are now 5-6" tall, so to are the Japanese onion sets I put in. But I've noticed quite a few gaps in my garlic crop.
The broad beans seem to be enjoying the wet weather and are now 5-6" tall, so to are the Japanese onion sets I put in. But I've noticed quite a few gaps in my garlic crop.
Friday, 31 October 2008
Happy Halloween

Hope you all have had a peaceful & fun Halloween
We have had some strange things appearing on photo's we have taken, lots of orbs all around the room.

We have had some strange things appearing on photo's we have taken, lots of orbs all around the room.

Subscribe to:
Posts (Atom)

