Well summers here ... well sort of.
I've kept poultry for many years and something that seems to trouble a lot of people is Red Mite.
I have developed/stumbled upon or whatever you want to call it a way that kept my hens pretty free of Red Mite.
So I thought I'd share it and hopefully help a few others to control them.
Things I used to do with my wooden coops:
Years back you could paint them with creosote which seemed to kill everything pretty completely but now the use or indeed the purchase of it it restricted.
I found a good alternative was to either waft a blow torch ( electric hot air gun or a plumbers gas thing ) over all the nooks & crannies, alternatively or afterwards ( please not before ! ) was to paint the whole inside with paraffin using a paint brush be liberal ! You see why I said not before the blowtorch !
Next I used to give my hens and their surroundings a good dust with a farmyard/horse powder called "Gold Label Get rid powder" comes in a red tin you can find it on ebay or just google.
Where the perches sat on their brackets I would sprinkle some permethrin based crawling insect powder, such as the stuff you buy from Wilko's. Being careful though not to get it near my hens or their food.
There you go my way of keeping the red mite pest at bay, I found by following those simple steps my hens used to stay relatively red mite free, and when they did rear their ugly head the use of the above methods used to rid them effectively within a few days, with most of the blighters dying the same day.
Hope it helps
Tuesday, 12 June 2012
Wednesday, 4 January 2012
Digging finished
Well I finished the majority of the digging on the plot before Christmas, plus I ordered a raspberry collection from J.Parkers these are the one's I bought, came very promptly within 10 days I was very surprised how fast they came, plus I got some free bulbs

I found a few more plants amongst the weeds at the top of the plot, so I moved them down to be with others. The found ones are those with the leaves still on. Hopefully they will survive the move.

I was given a 3/4 full roll of Mypex so I've used it for the paths along the long run of the plot, and around the raspberrys. Hoping it'll stop or slow down the weeds coming through from my neighbour, now just to stop the dreaded twitch( couch grass ) from coming under the slab path from my other neighbour a weed war on 2 fronts !, I buried some old laminate floor boards along the path edge that might slow them down we'll see. In the spring a good dose of Sodium Chlorate I have stored in the shed at home may help too.

Saturday, 12 November 2011
Courgettes & squarefoot gardening in our back garden

Just thought I'd post a couple of photo's of my back garden. I took these I think about 2 yrs back. We were trying some square foot gardening in the first one.
Strawberries in tubs on the wall, tubs from the poundshop and the strawberries where grown from seed. In the main bed at the front there's courgette's and lettuce. I also tried growing sweetcorn amongst the courgettes but they soon got swamped and lost.
On the right there's beetroot, spring onions and carrots. Also those two beds on the right you can see young been plants growing, the swiftly grew to become the "hedge" you can see on the left of the second picture.
The beds themselves are made out of reclaimed decking boards, 2 years on they are still in great shape, just need a coat of fence paint.
The greenhouse is sporting it's summer overcoat of debris netting which makes great sun shading.
Friday, 11 November 2011
Paper Pot Making
Here's a quick and simple way to make your own paper pots, I've made them this way for years now.
These are great for things like runner beans, sweetcorn etc the list goes on
Just plant the pot and it's contents straight into the ground, no need to disturb the root structure the pot degrades into the soil over the season.
These are great for things like runner beans, sweetcorn etc the list goes on
Just plant the pot and it's contents straight into the ground, no need to disturb the root structure the pot degrades into the soil over the season.
Tuesday, 8 November 2011
A long break and all that !
Well I lost the plot(s) literally ! , not really lost them but gave them up.
We were due to have a new allotment site in our village, and what with helping the new site prepare and being on the new committee. I decided to give my old plots up and start a fresh on the new village site.
Sadly they fell through and I was without an allotment.
For a year or two we have grown at home along the lines of square foot gardening, nice and compact, we had some good salad years but not much room for the "big boys" of the veg garden.
Plot 62
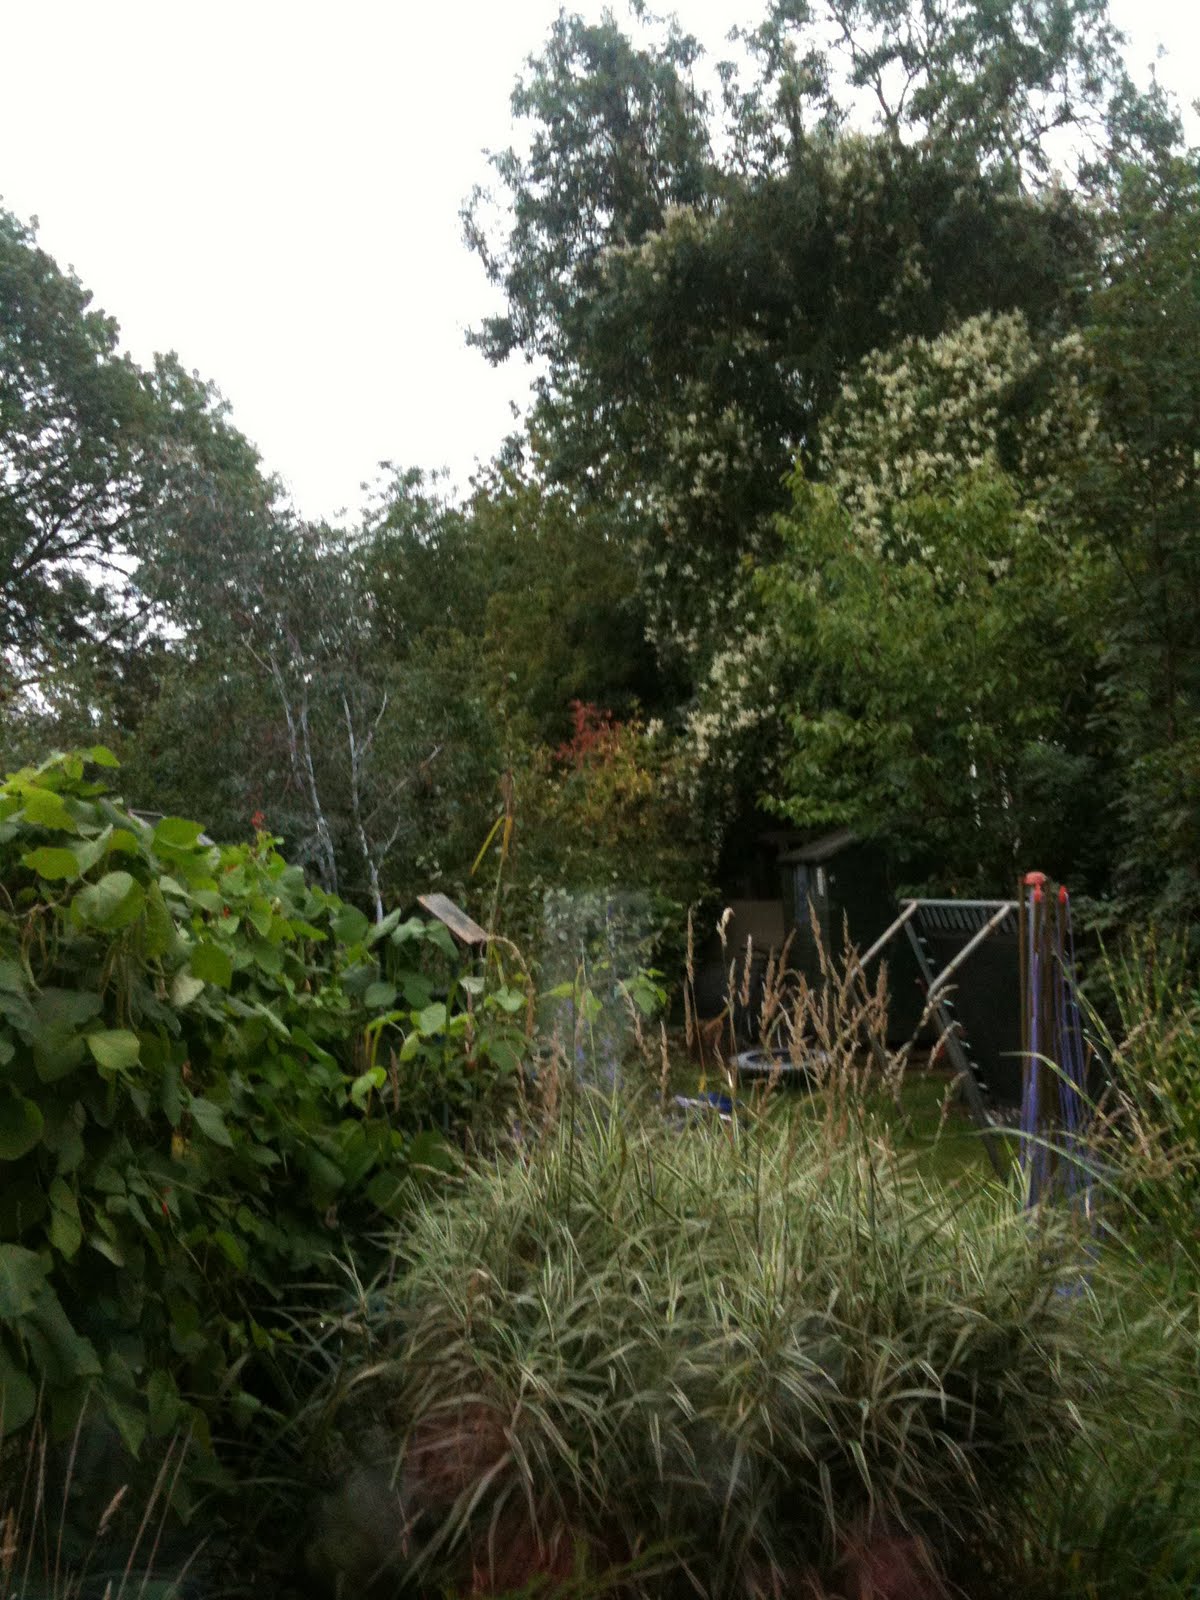
Where I work from the tea room you can see the local allotment plots, this year I finally succumbed to temptation. Put my name down on the waiting list and 1 week later I was offered a plot !
Can't believe my luck ! the plots great, the soils lovely like something off a tv show ... almost apart from the usual selection of weeds, fortunately for me mostly annual grass and fat hen. plus a good crop of stones, half bricks and building blocks, and a chair !
The only down side I've found so far is there's quite a hard pan about a spit deep, but I've been double digging some of the beds to help start breaking this up.
I decided from more or less day one that I would implement a bed system, 4 foot wide and 13 foot long 18" paths all round should suffice. I eventually will have 26 beds. Also saves me the trouble of digging where I'm going to be walking.
So far I've found a few rhubarb plants, and a few raspberry plants.
2nd day in I remembered to take some pictures


3 weeks further along and we're getting there, Garlic and over wintering onions are in, I've dug out 1 row of bean trenches.

And now the rain has started.
We were due to have a new allotment site in our village, and what with helping the new site prepare and being on the new committee. I decided to give my old plots up and start a fresh on the new village site.
Sadly they fell through and I was without an allotment.
For a year or two we have grown at home along the lines of square foot gardening, nice and compact, we had some good salad years but not much room for the "big boys" of the veg garden.
Plot 62
Where I work from the tea room you can see the local allotment plots, this year I finally succumbed to temptation. Put my name down on the waiting list and 1 week later I was offered a plot !
Can't believe my luck ! the plots great, the soils lovely like something off a tv show ... almost apart from the usual selection of weeds, fortunately for me mostly annual grass and fat hen. plus a good crop of stones, half bricks and building blocks, and a chair !
The only down side I've found so far is there's quite a hard pan about a spit deep, but I've been double digging some of the beds to help start breaking this up.
I decided from more or less day one that I would implement a bed system, 4 foot wide and 13 foot long 18" paths all round should suffice. I eventually will have 26 beds. Also saves me the trouble of digging where I'm going to be walking.
So far I've found a few rhubarb plants, and a few raspberry plants.
2nd day in I remembered to take some pictures


3 weeks further along and we're getting there, Garlic and over wintering onions are in, I've dug out 1 row of bean trenches.

And now the rain has started.
Wednesday, 6 May 2009
Quick peep inside the greenhouse
Just like it says
 Most of the plants you see down the middle are destined for the allotment plot.
Must sow some runner beans in the next day or two !
 Most of the plants you see down the middle are destined for the allotment plot.
Must sow some runner beans in the next day or two !
Friday, 1 May 2009
The Big Clean !!
Today was the day to do the big clean of the hen house. I clean them out properly once a year I feel the way I keep them there is no real need to do more regularly than this.
Have you ever read about deep litter houses ?? that's how I keep mine I create a deep litter of straw and wood shavings about 9inch deep and leave it. Over the year they scratch it down in to dust spending many happy hours digging scratching and creating dust baths, they just love to dust bathe so much so that everything in the shed ends up covered in a fine layer of dust.
The essential items for the clean are spade, scraper sweeping brush, hand brush, pressure sprayer, Jeyes fluid and a paint stripping gun.
I start by removing all the old litter, bagging this up to go down to the allotment some will be composted but some I have an idea for this year. After everything is scraped and swept I put the paint stripping heat gun over every joint and nook 'n crannie to kill any bugs. Finally I give the whole thing roof floors sides etc a good spray with Jeyes fluid. Leave it to dry then put down a thick layer of straw, no wood shavings at the minute but I'll add some later on.
A few shots of the inside


Showing the perch and supports for the droppings board
 Front of the nest box, I've put curtains up for a number of reasons hens prefer somewhere dull and secure, also it seems to lessen the chance of egg eating and vent pecking occurring

Finally showing the droppings board replaced and the ladder in position

Have you ever read about deep litter houses ?? that's how I keep mine I create a deep litter of straw and wood shavings about 9inch deep and leave it. Over the year they scratch it down in to dust spending many happy hours digging scratching and creating dust baths, they just love to dust bathe so much so that everything in the shed ends up covered in a fine layer of dust.
The essential items for the clean are spade, scraper sweeping brush, hand brush, pressure sprayer, Jeyes fluid and a paint stripping gun.
I start by removing all the old litter, bagging this up to go down to the allotment some will be composted but some I have an idea for this year. After everything is scraped and swept I put the paint stripping heat gun over every joint and nook 'n crannie to kill any bugs. Finally I give the whole thing roof floors sides etc a good spray with Jeyes fluid. Leave it to dry then put down a thick layer of straw, no wood shavings at the minute but I'll add some later on.
A few shots of the inside


Showing the perch and supports for the droppings board
 Front of the nest box, I've put curtains up for a number of reasons hens prefer somewhere dull and secure, also it seems to lessen the chance of egg eating and vent pecking occurring
Finally showing the droppings board replaced and the ladder in position

Subscribe to:
Posts (Atom)
